Why Hatch Chicks in the Classroom?
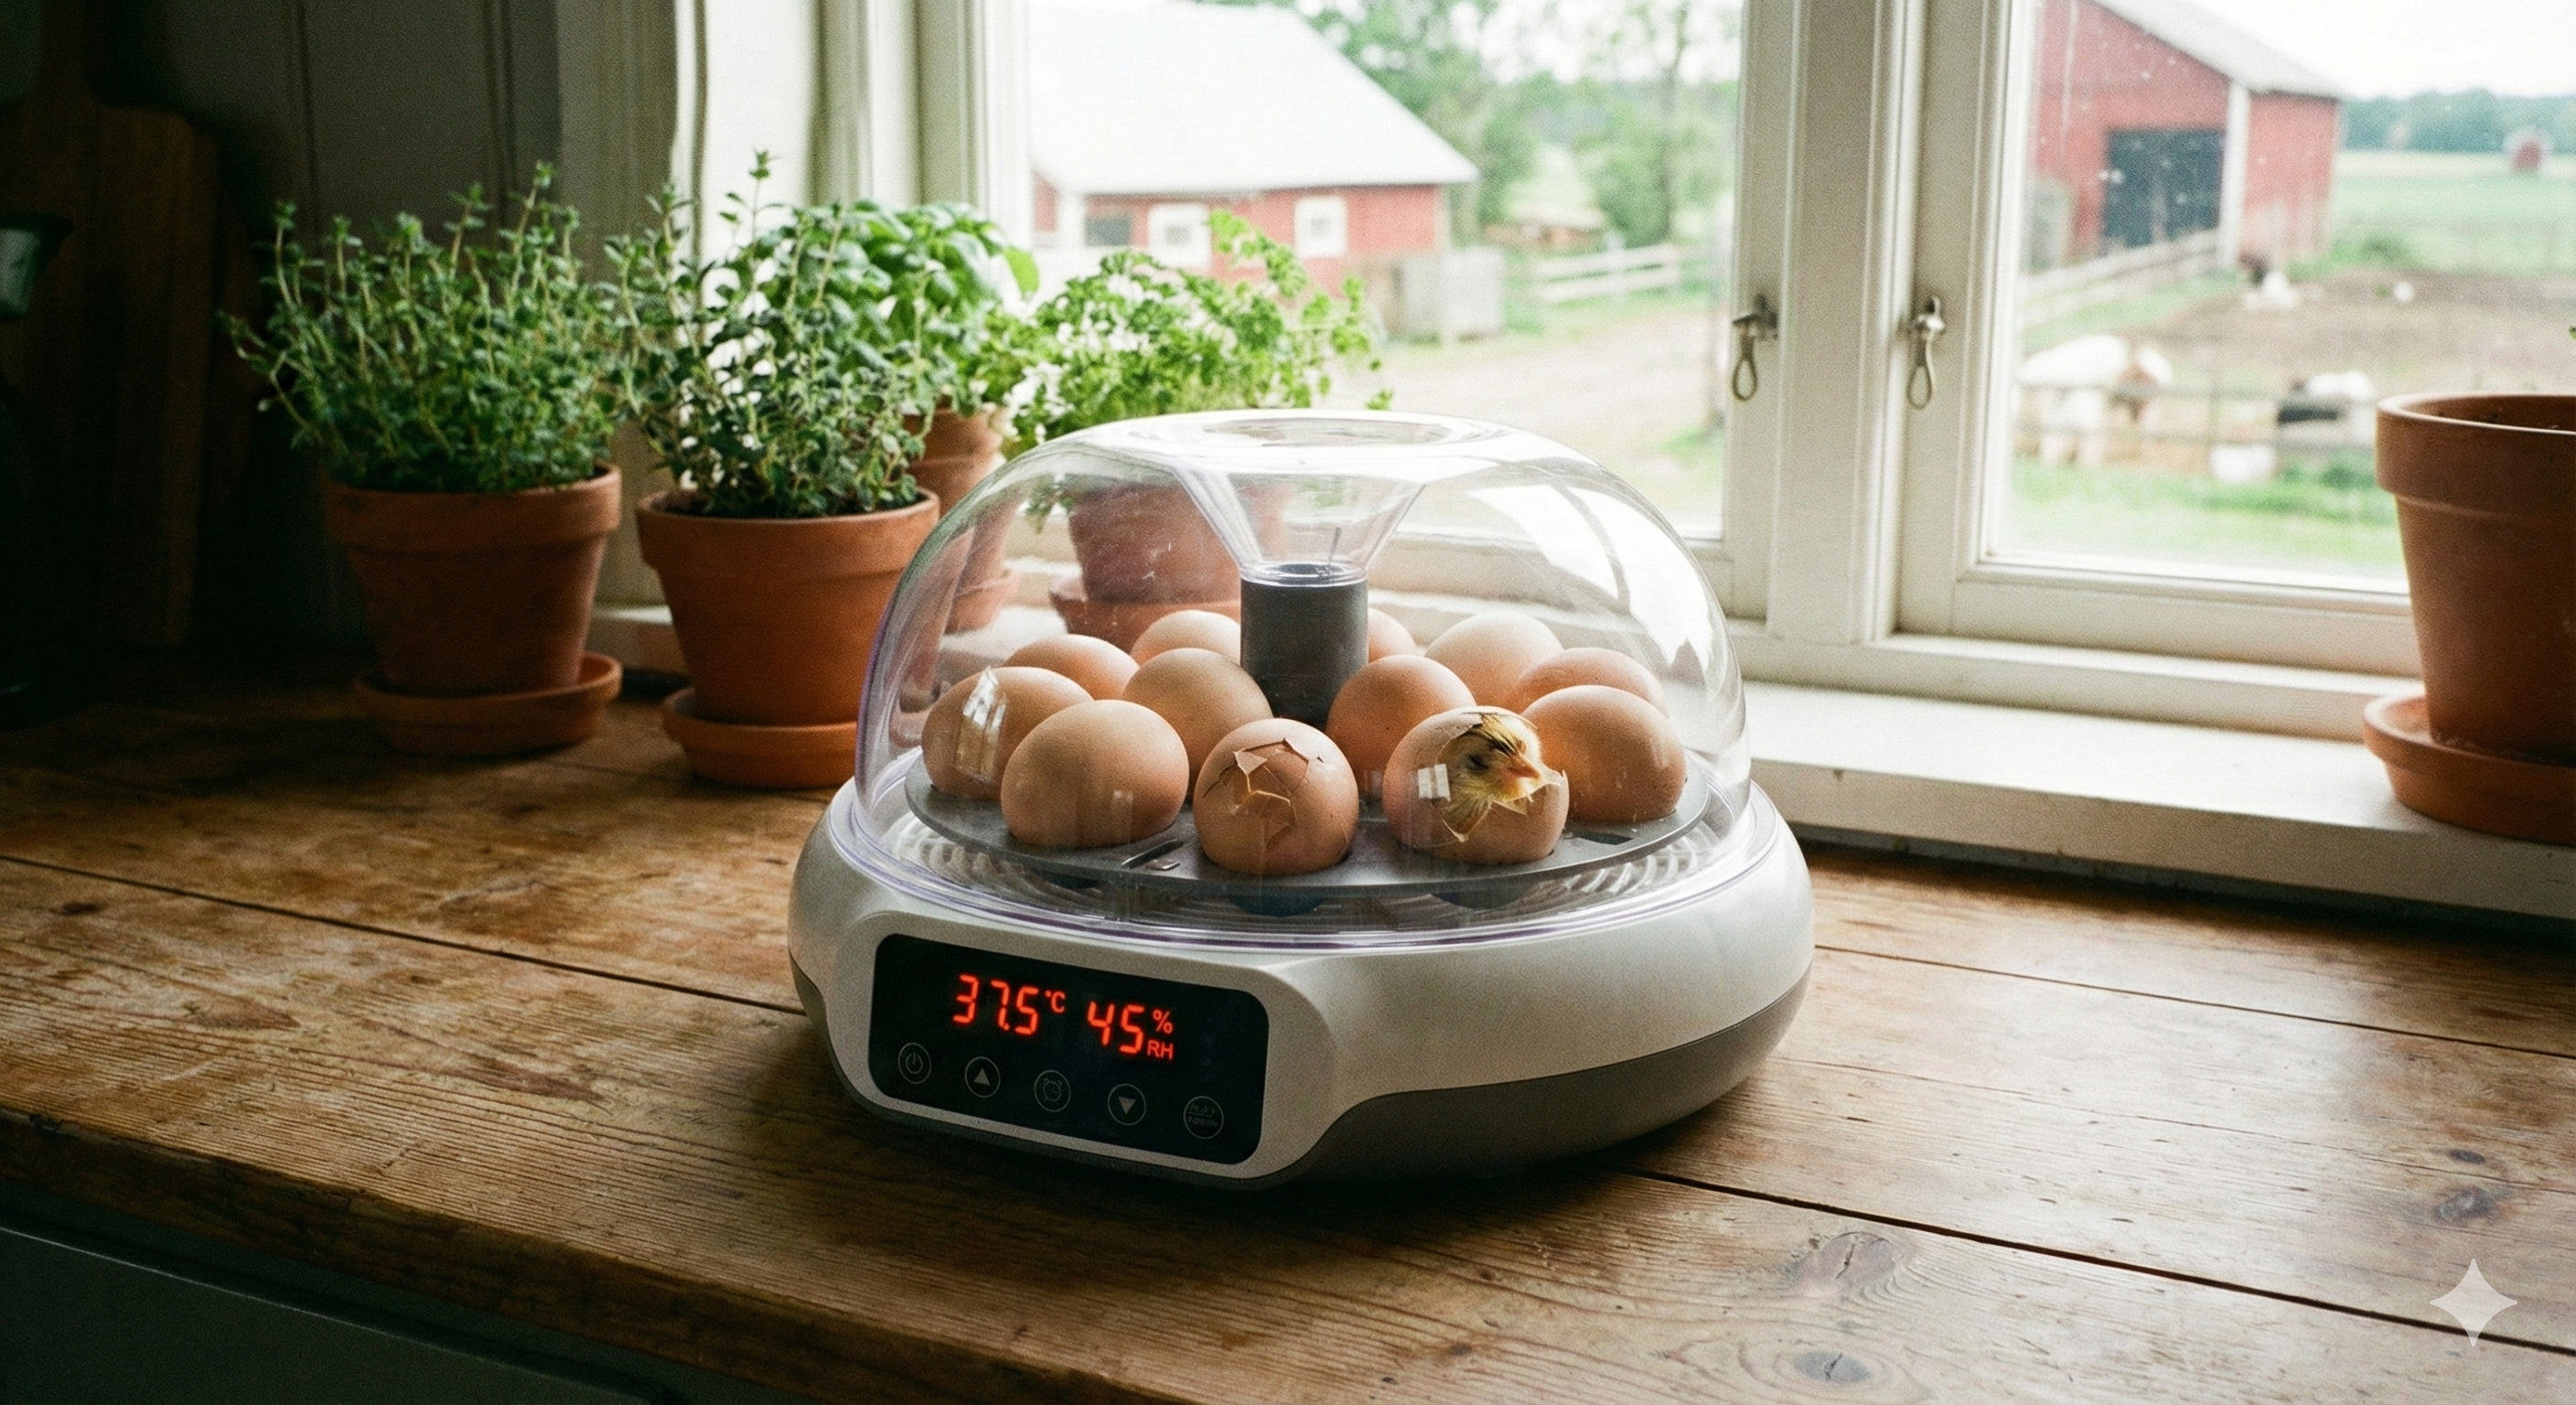
Chick Checkout is inspired by successful agricultural education programs that help students see where food comes from and experience life science up close. With one small incubator, your class can follow the full 21-day chicken life cycle.
- Hands-on science: Students observe real embryo development and hatching.
- STEM integration: Track temperature and humidity, graph data, and connect to NGSS life science standards.
- Literacy & math: Write daily chick journals, count eggs and hatch rates, and compare timelines.
- Character building: Caring for eggs and chicks builds responsibility, empathy, and teamwork.
- Pure excitement: The anticipation of hatch day keeps students engaged for three full weeks.
Grades K–5
Life Cycle of a Chicken
Classroom Embryology
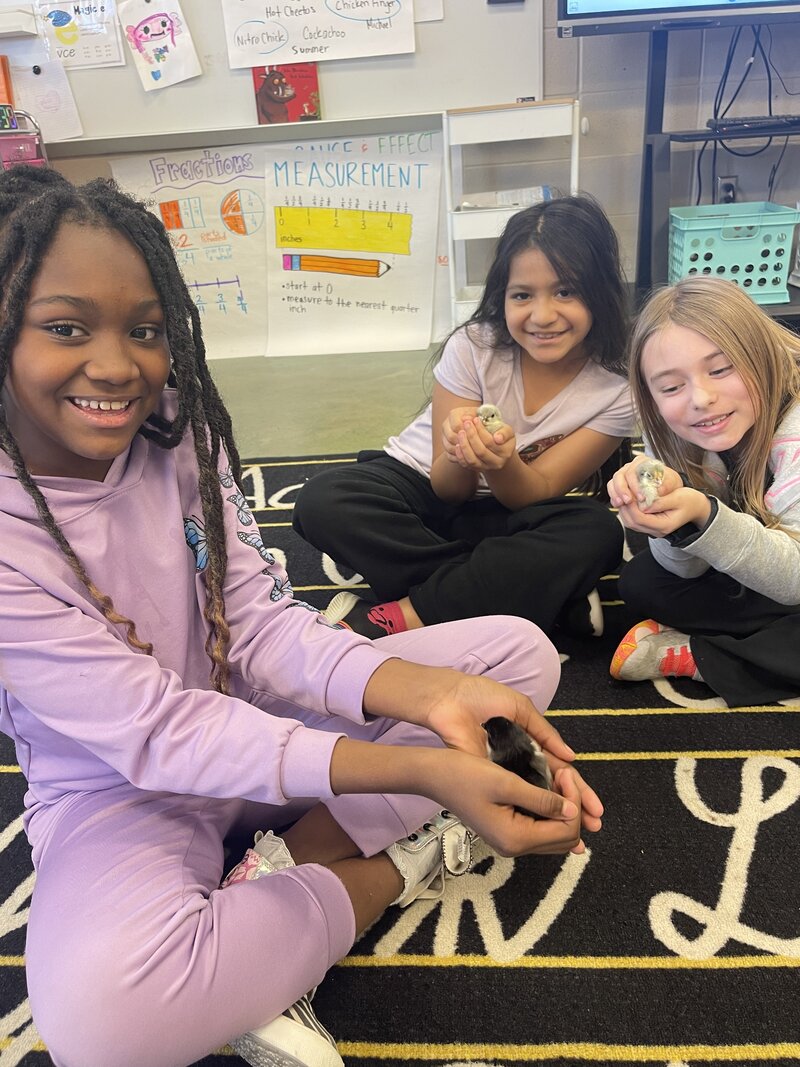
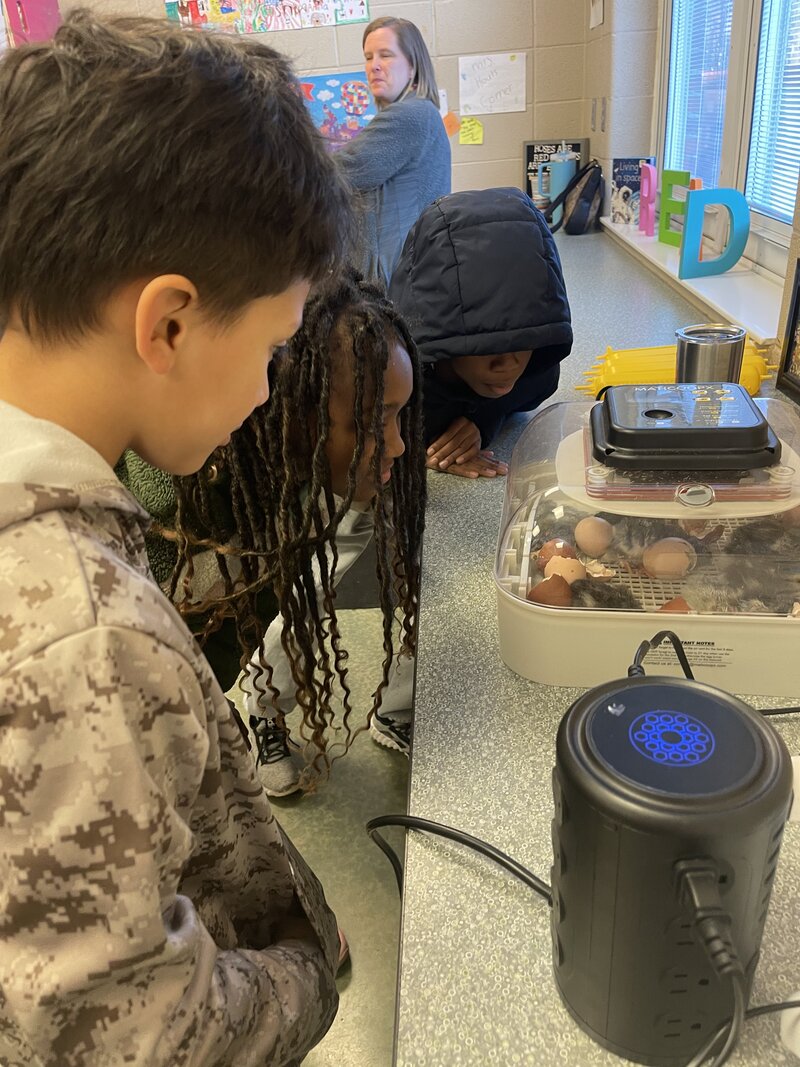
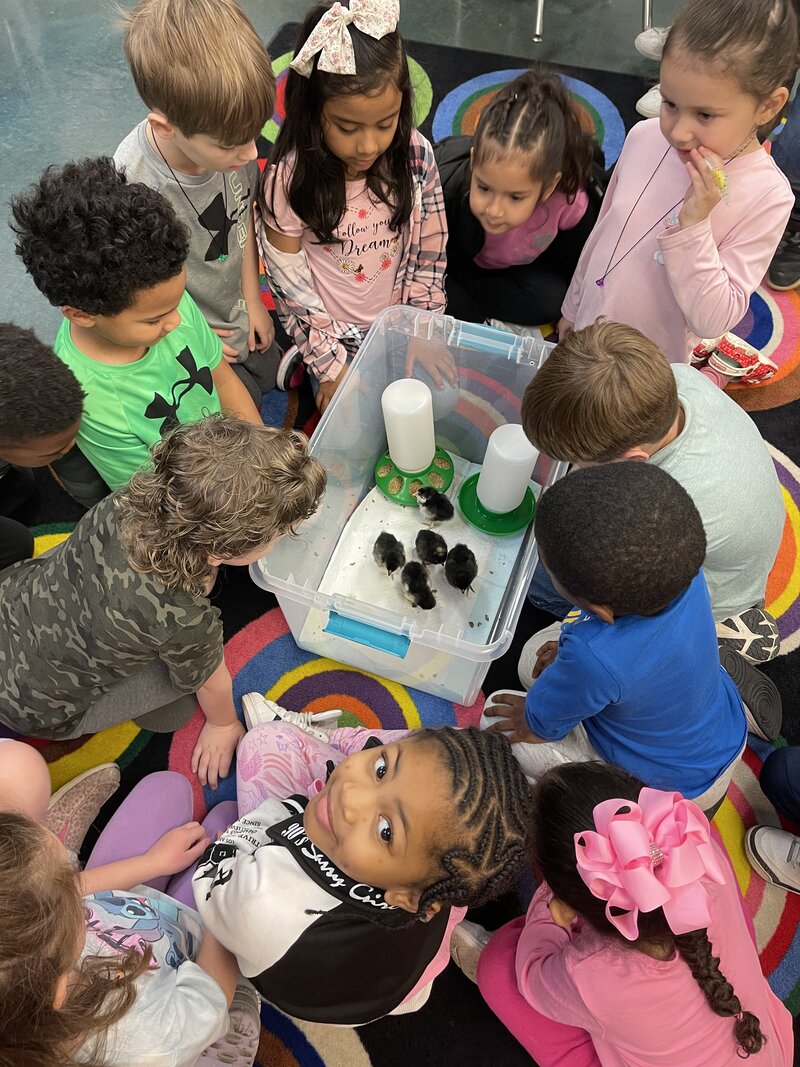
Classroom Moments
Real Chick Checkout classrooms: students observing eggs, caring for chicks, and learning together.
 Daily incubator check
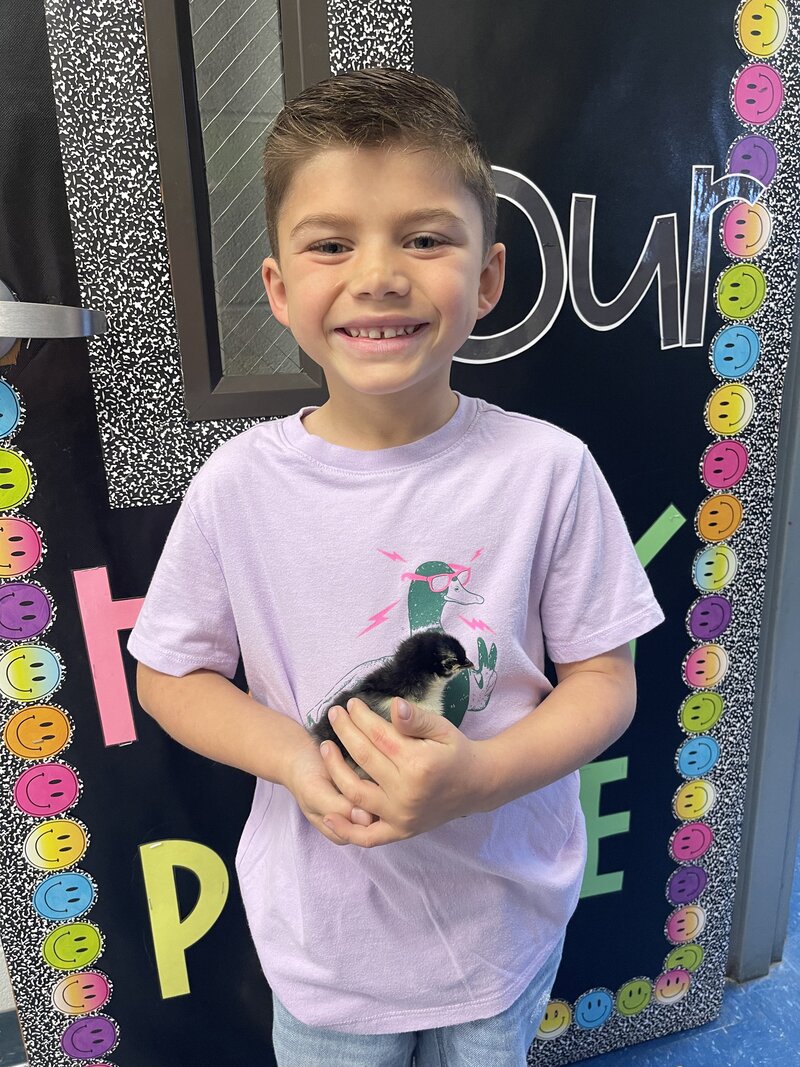 Guided chick handling
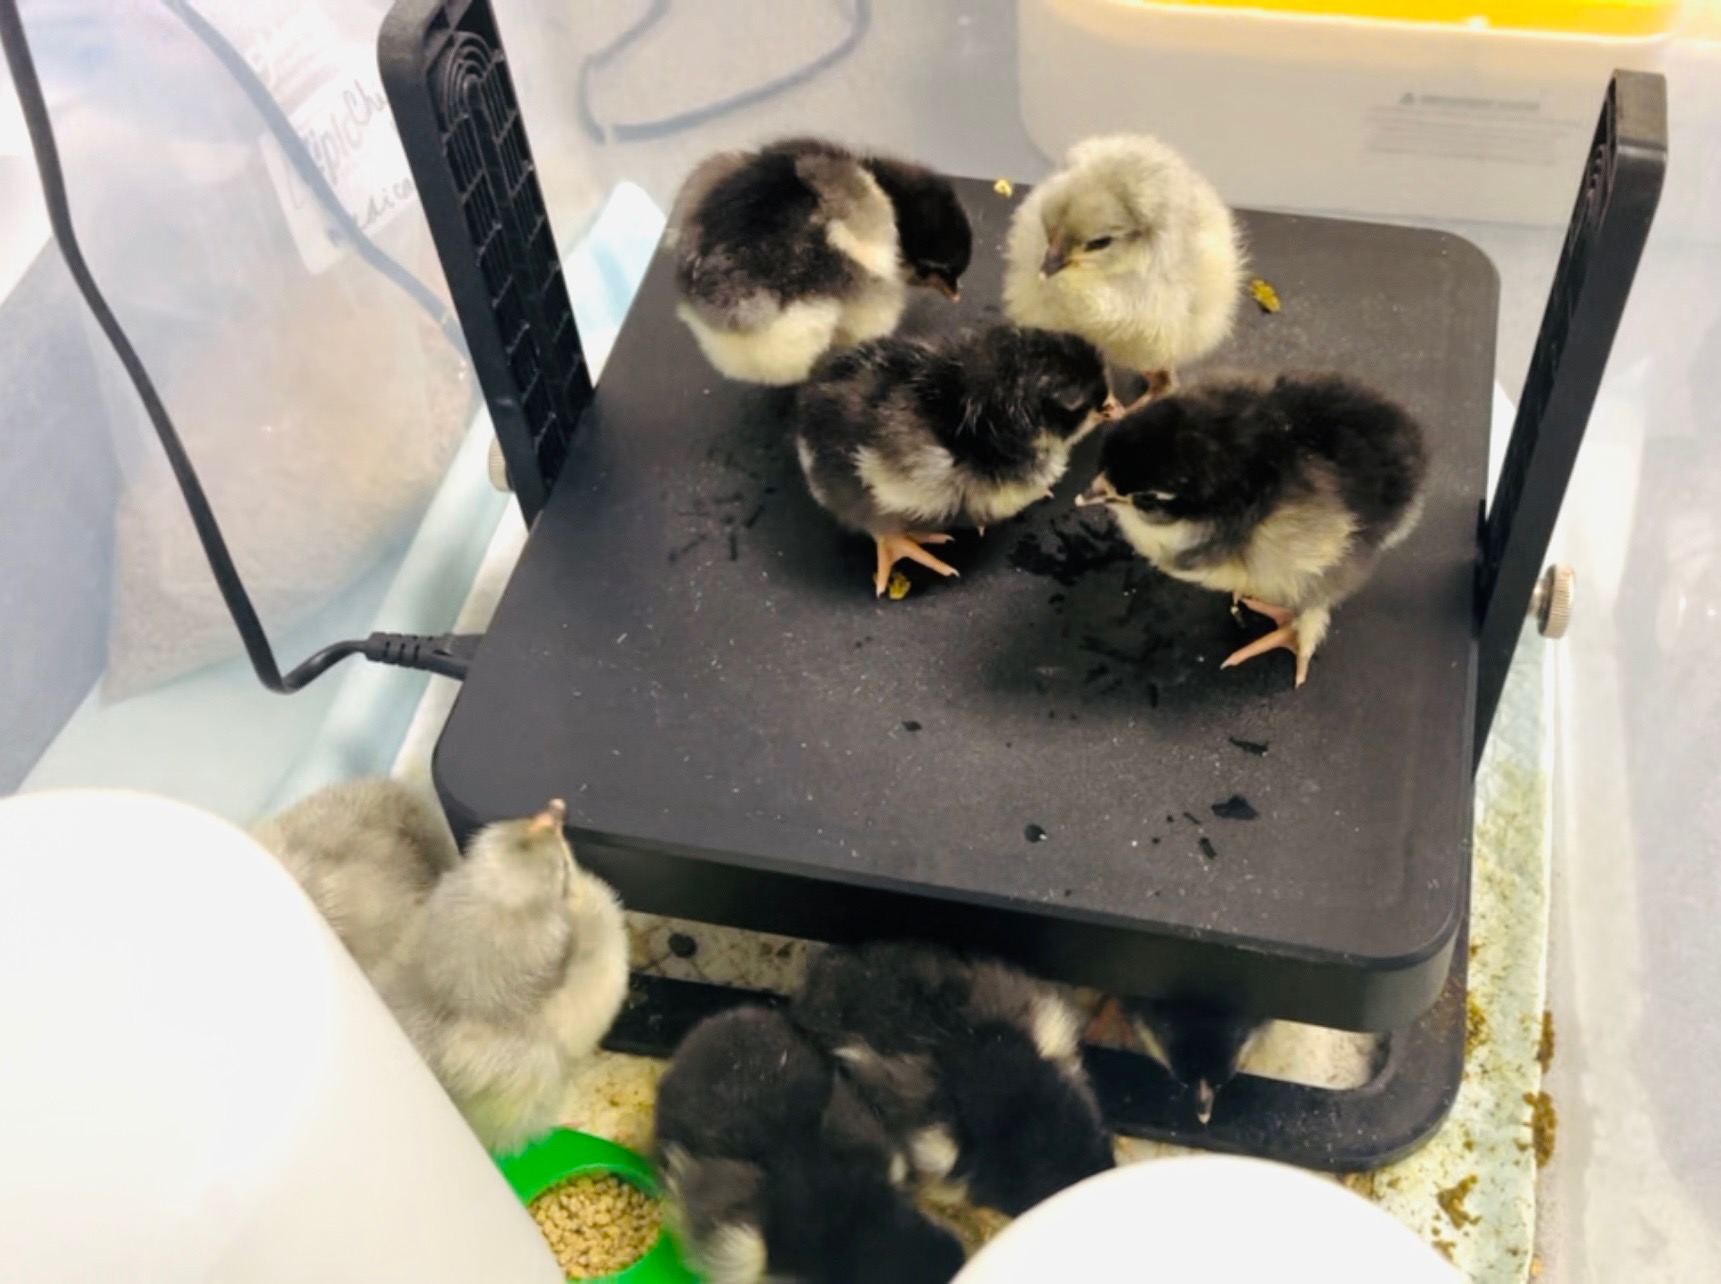
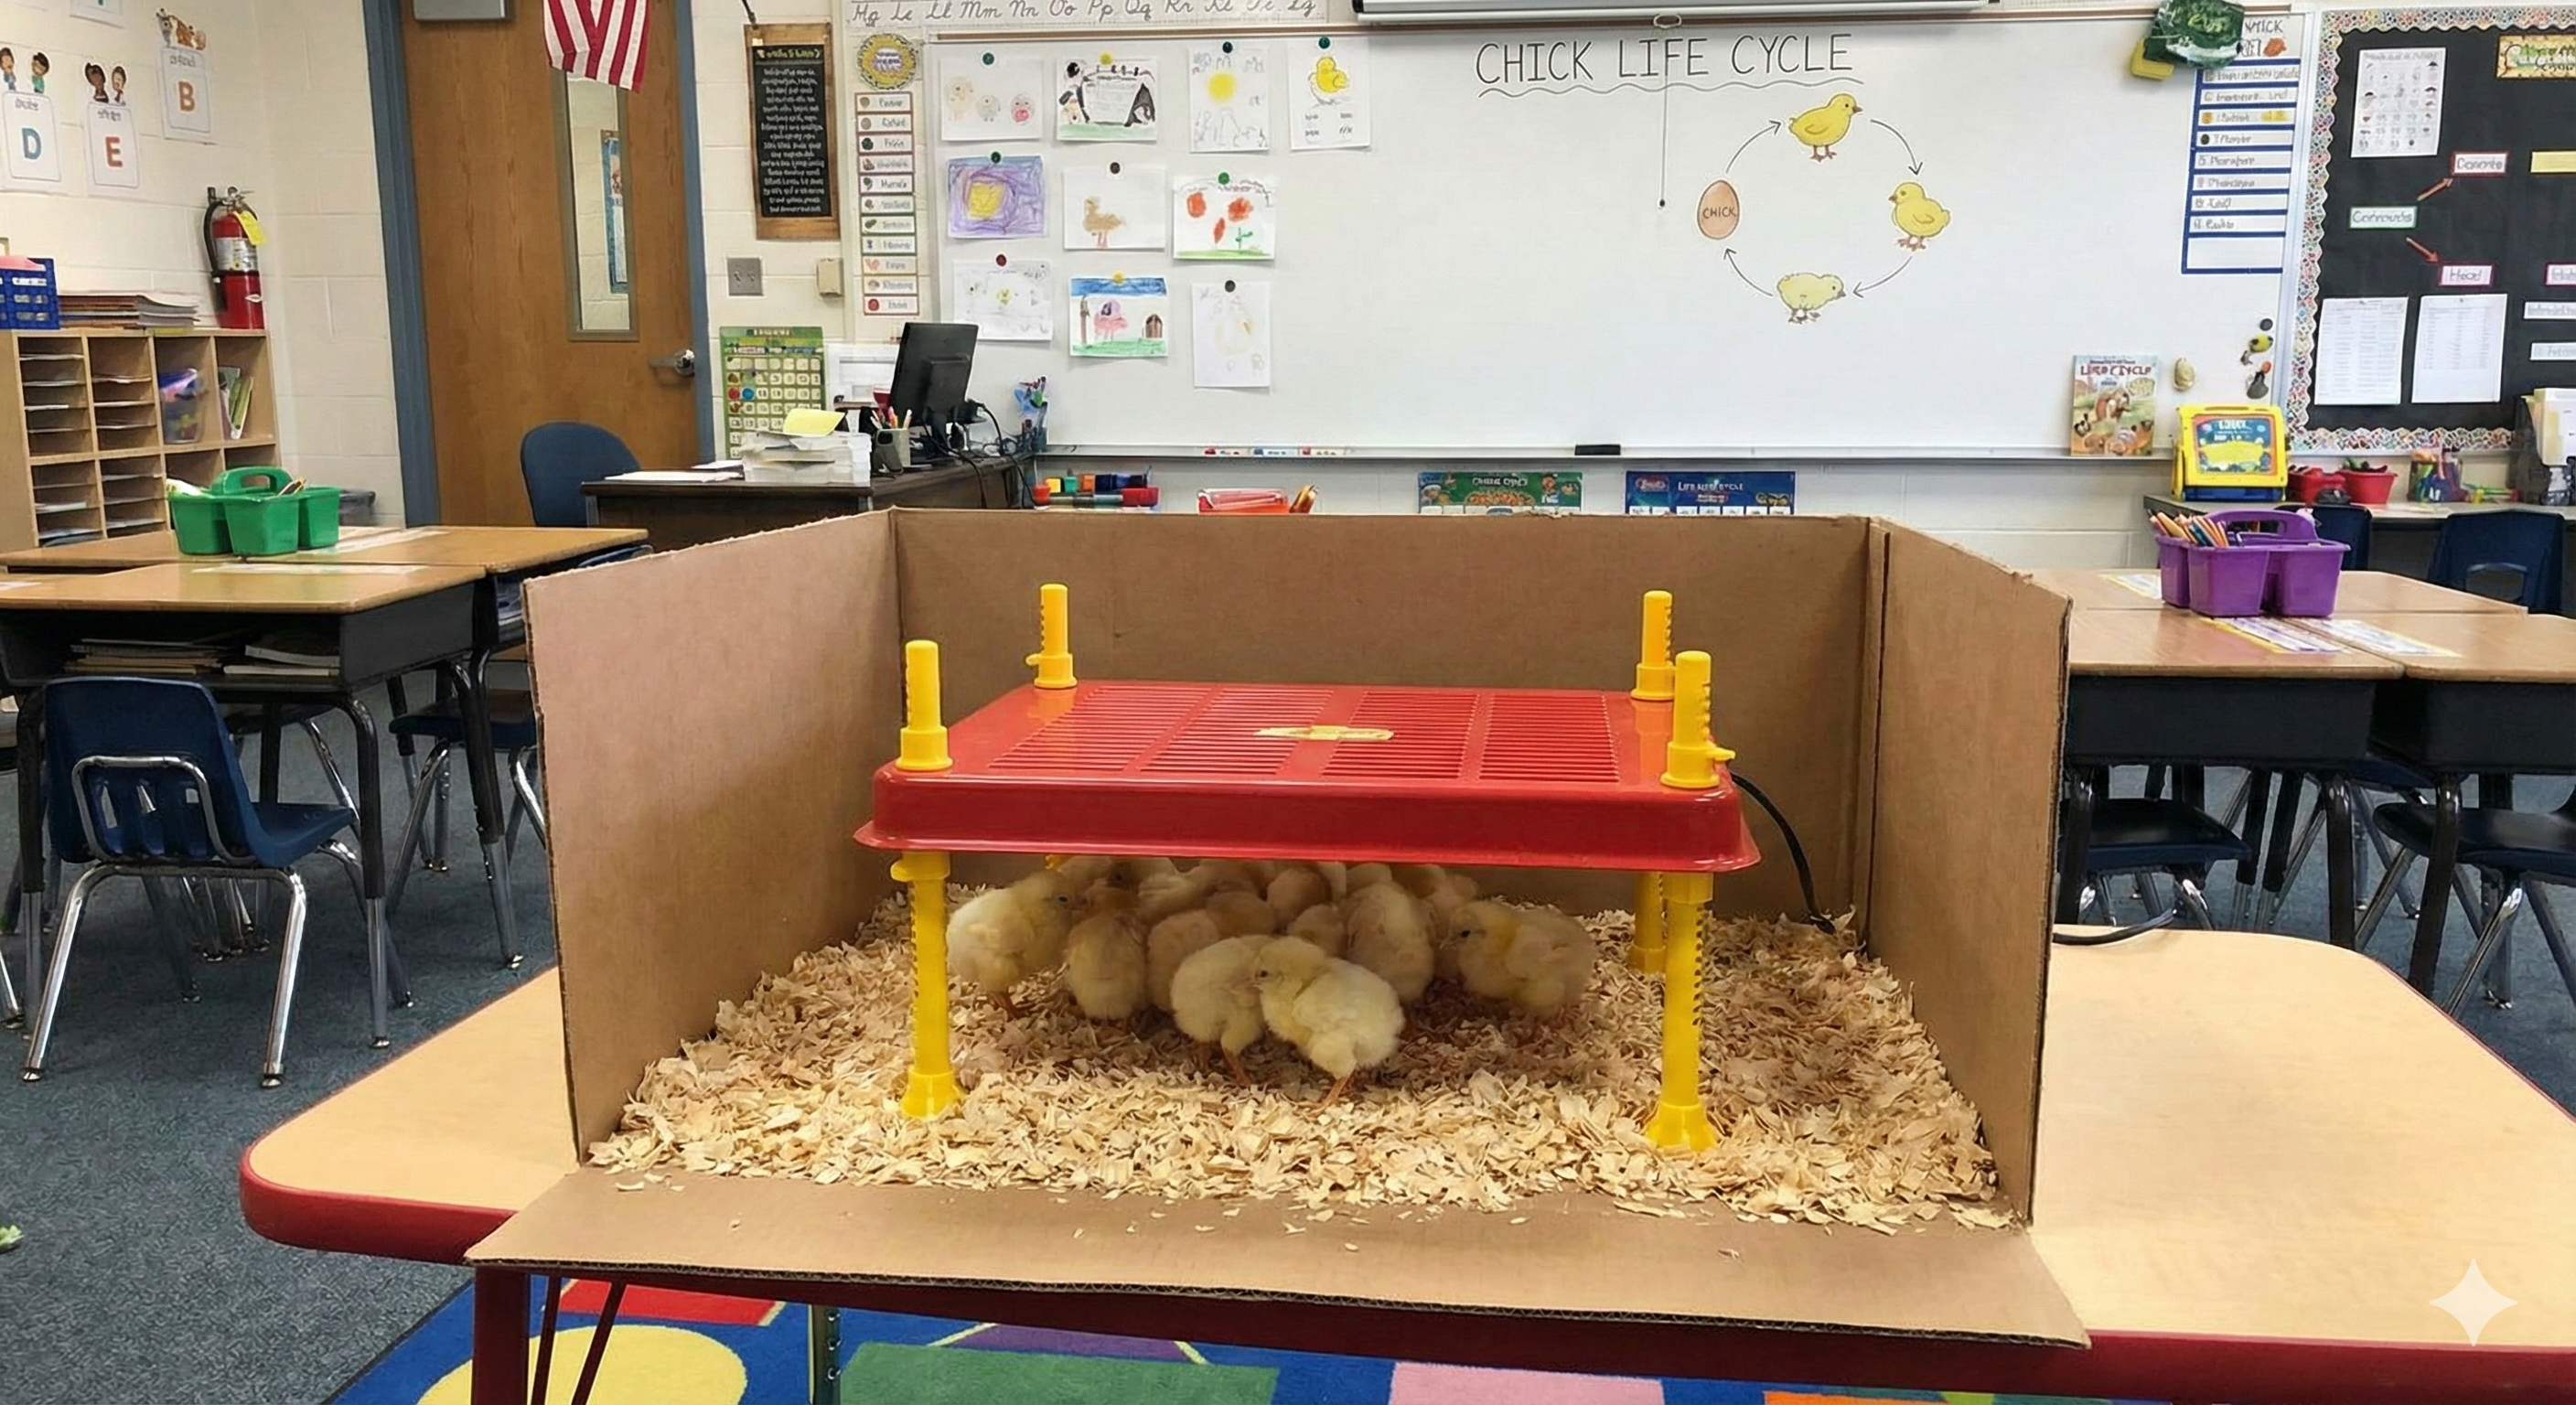
 Brooder observations
 Life cycle journaling
What You Need: Simple Chick Checkout Supply List
You don’t need a special grant or big budget. These basic items are enough to run a safe, successful chick hatching project in your classroom.
Brooder heater plate
Safer than heat lamps and easy to position on classroom tables.
See chick brooder heaters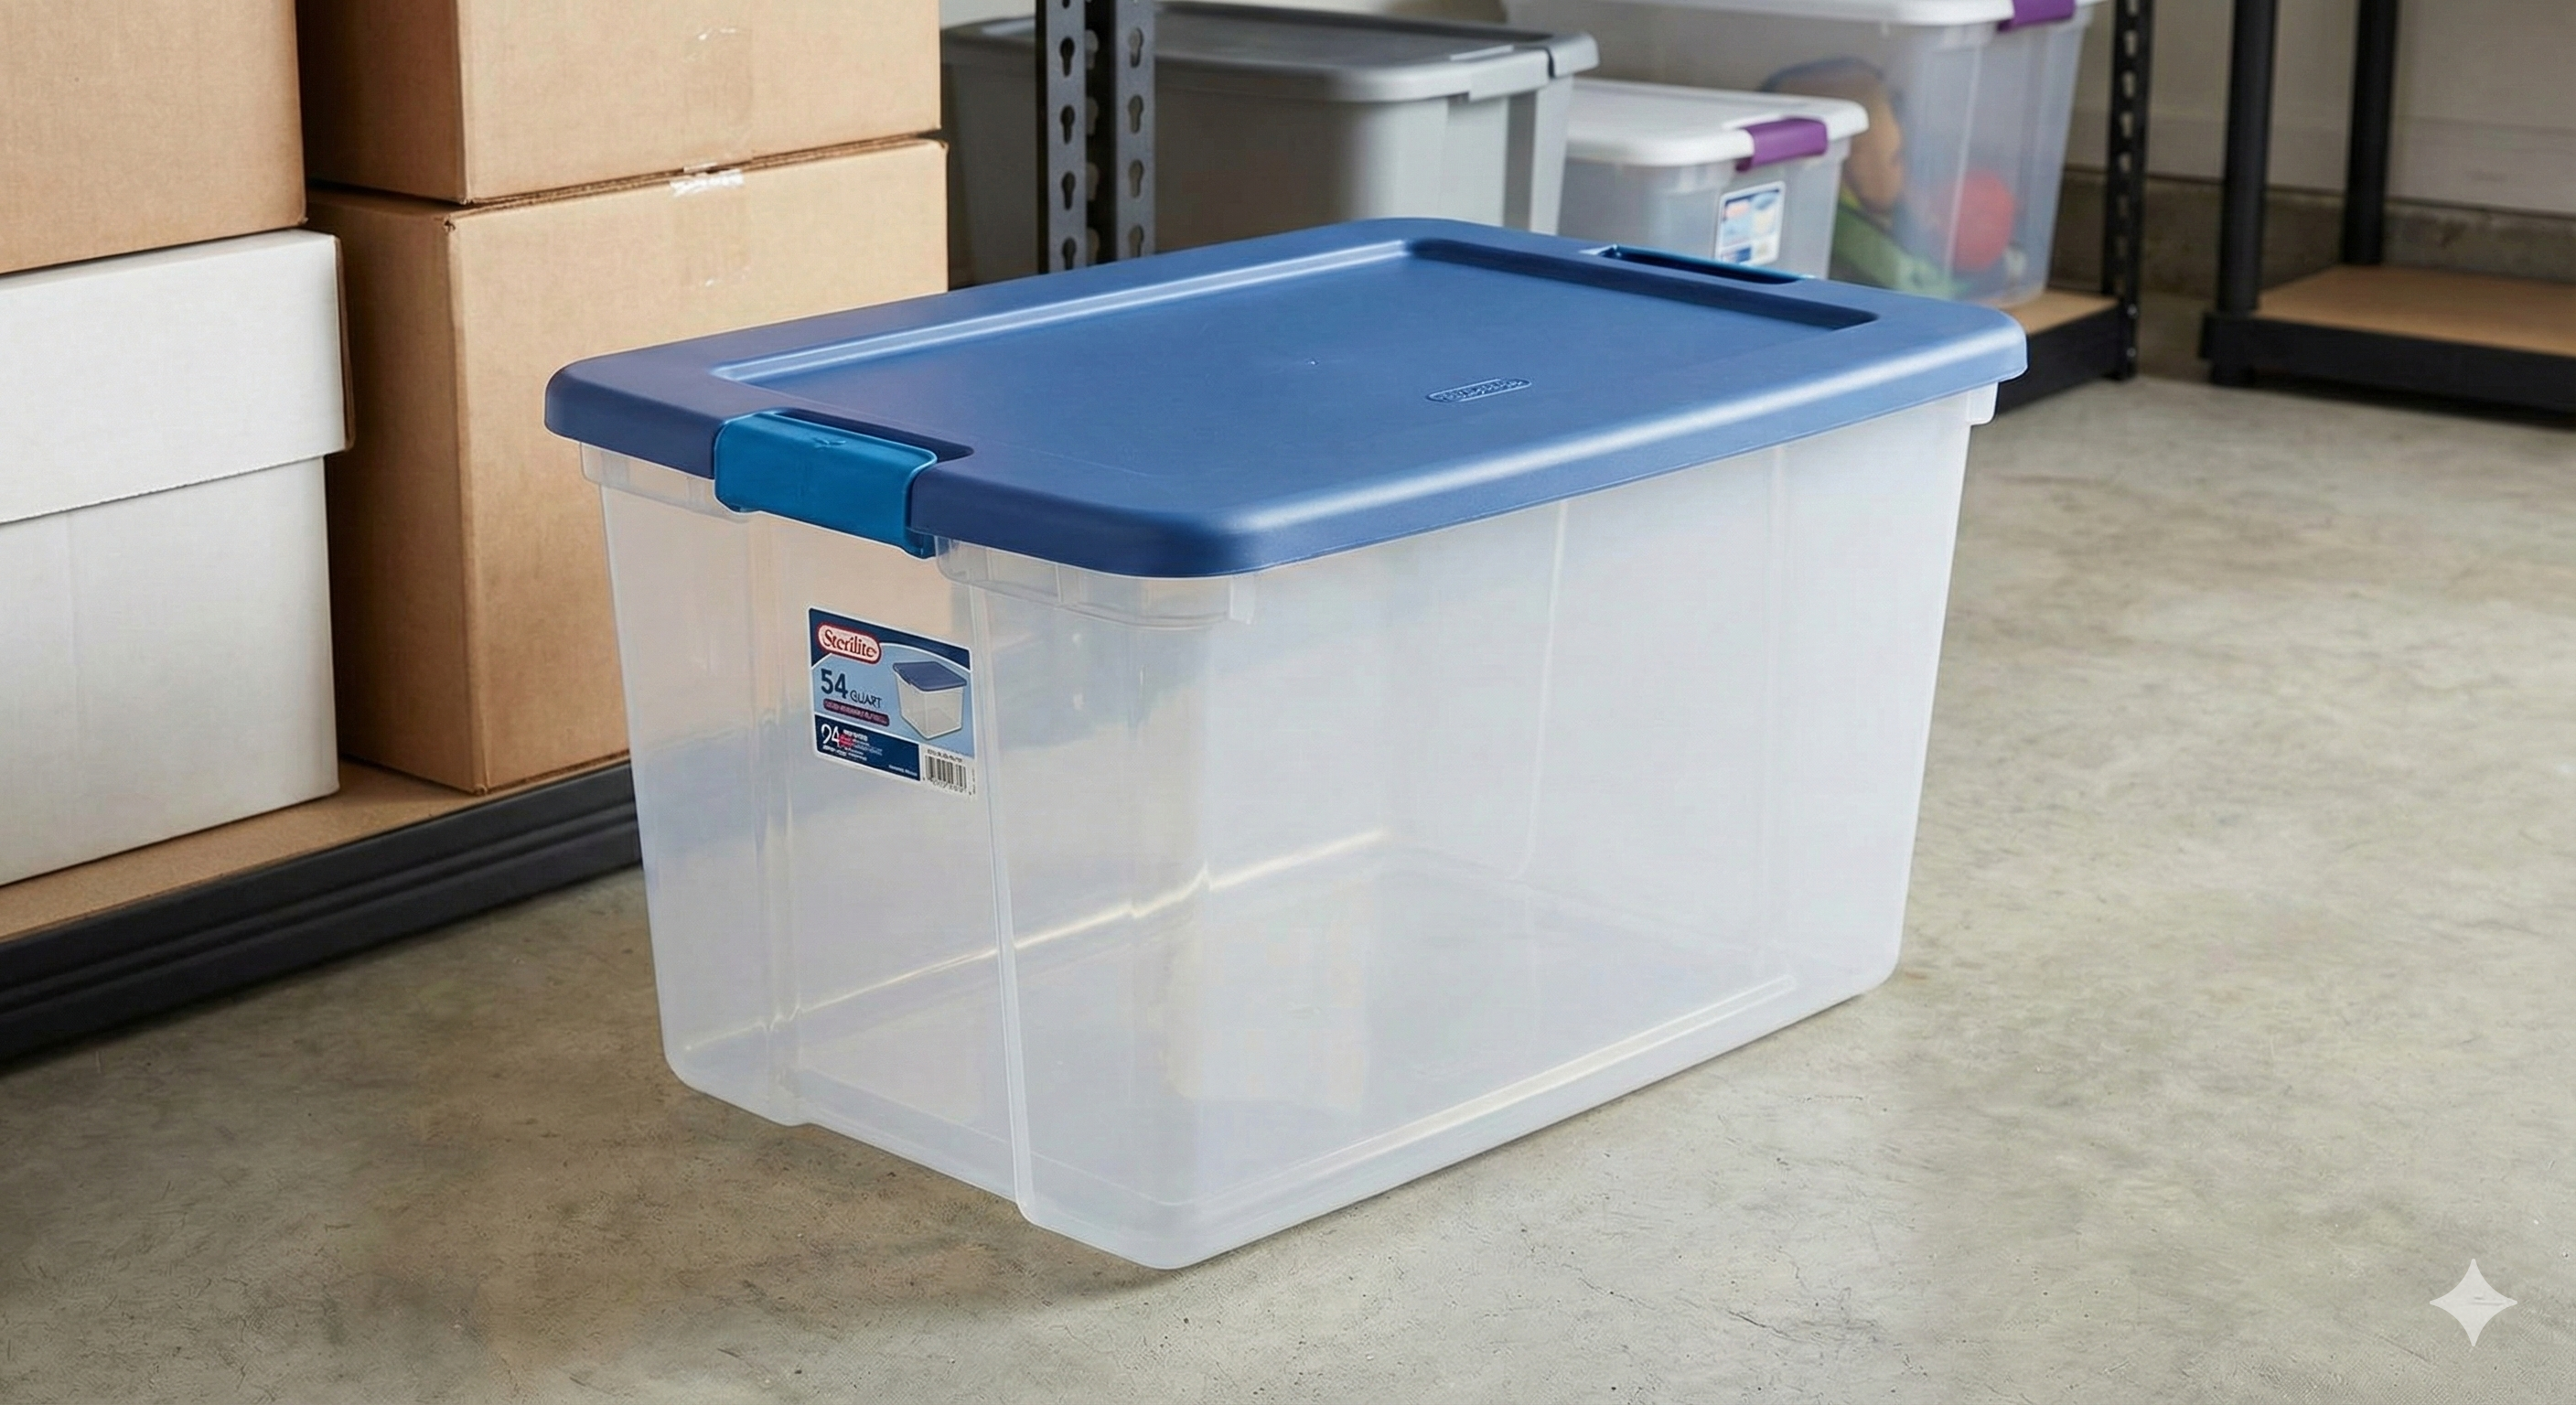
Clear plastic tote
30–50 quart bin doubles as a brooder with room to explore.
Find clear brooder totesChick Care Supplies
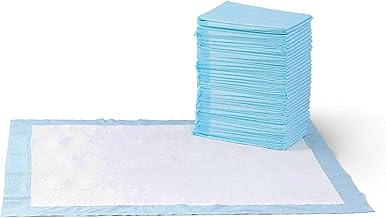
Puppy pads or absorbent liners
Line the brooder box for easy daily cleanup.
Shop brooder liners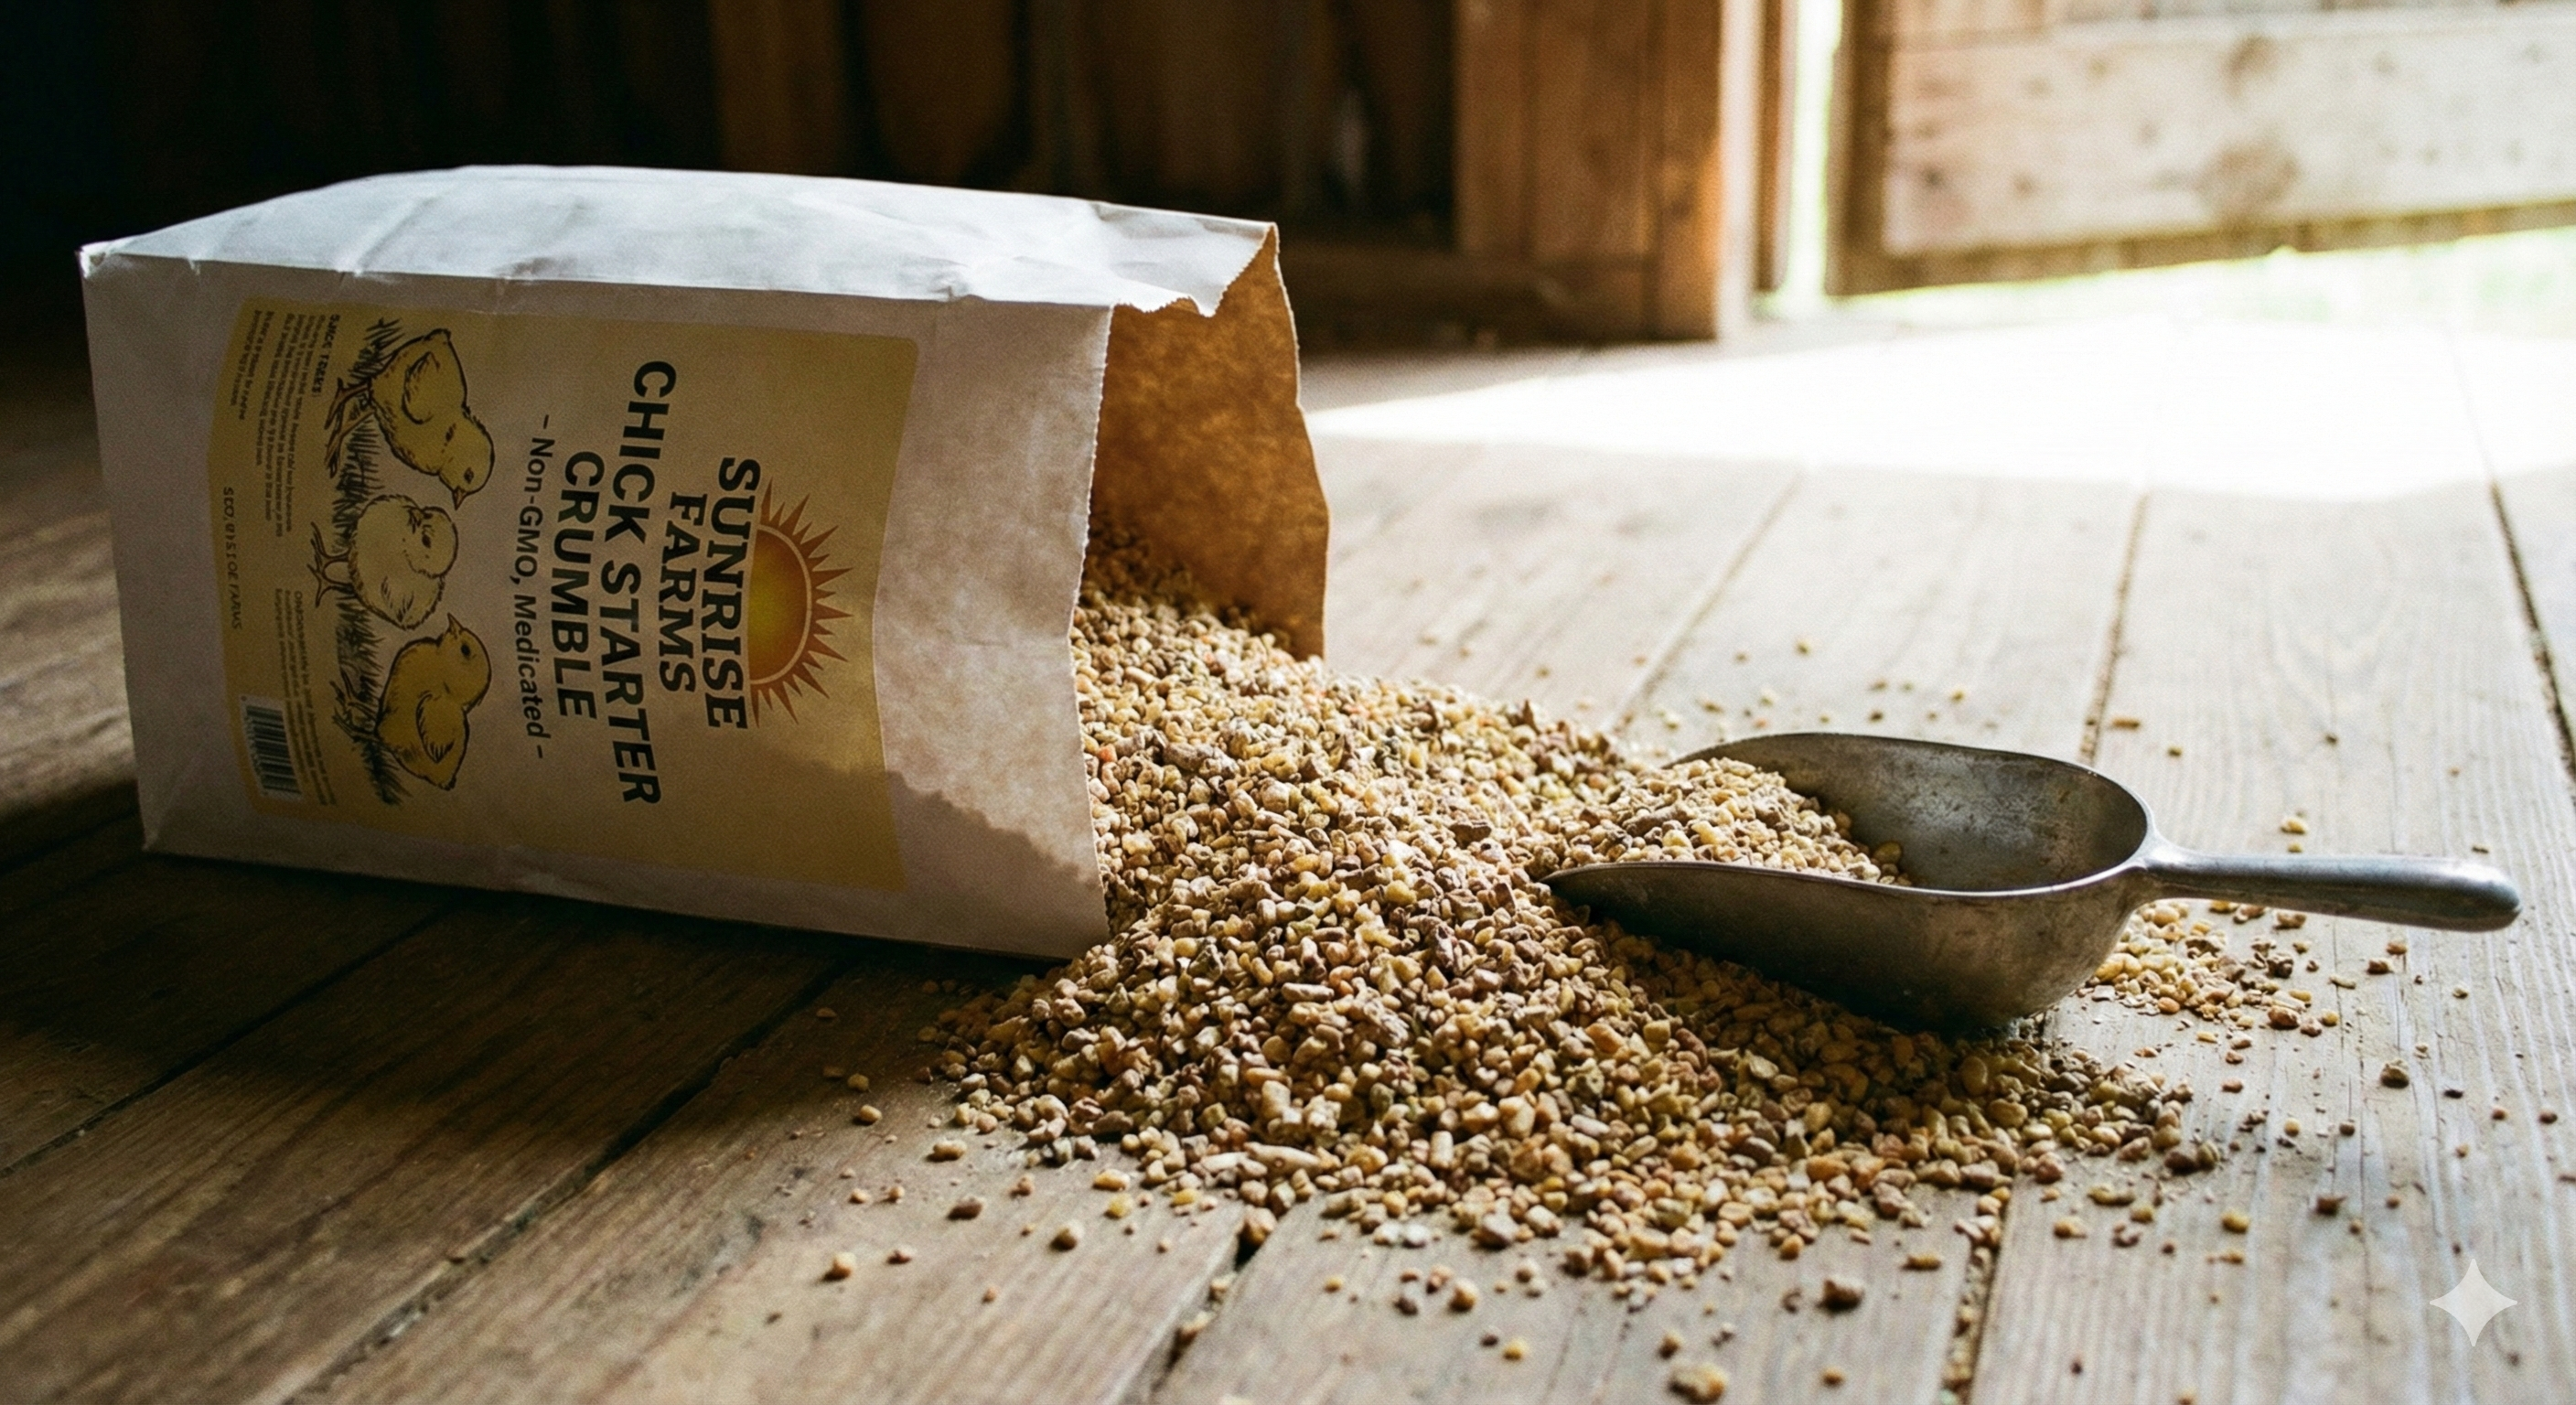
Chick starter crumble feed
Complete feed for the first weeks of life.
Browse chick starter feed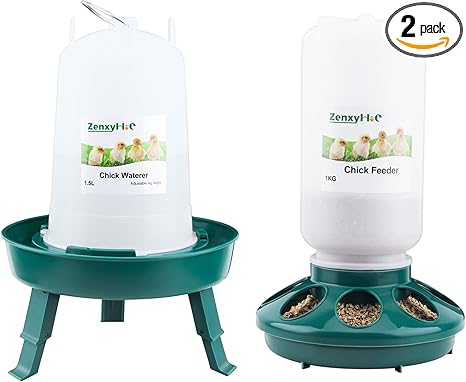
Chick feeder & waterer set
Shallow, chick-sized equipment to reduce spills.
View feeder & waterer sets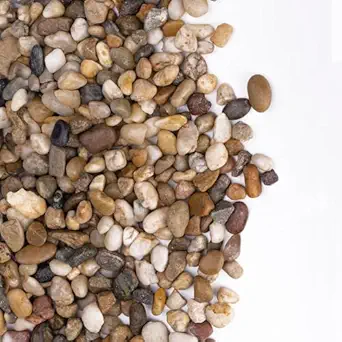
Small pebbles or marbles
Place in the waterer to keep chicks from stepping too deep.
Teacher Organization
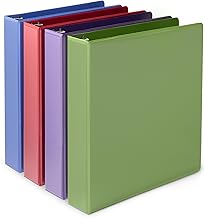
1" binder or notebook
Keep incubator settings, hatch dates, and student observation sheets together.
Check classroom bindersAs an Amazon Associate, Chick Checkout earns from qualifying purchases. Using these links helps support this free classroom resource.
Before You Begin Checklist
Quick prep to keep your hatch on schedule and chicks safe after students observe them.
- Pick a 21-day window that avoids holidays or long weekends.
- Confirm a quiet, draft-free table with two outlets for incubator and brooder heater.
- Line up fertilized eggs (see sources below) and verify they are collected within 7 days.
- Secure a post-hatch plan: parent with chickens or the farmer who supplied the eggs.
- Gather daily log sheets so students can record temperature, humidity, and chick notes.
Egg Sourcing & Chick Placement Plan
How to get fertilized eggs
- Partner with a parent who keeps chickens: easiest and usually free. Ask for eggs collected in the last week.
- Ask a local farmer or farmers market vendor: reliable hatch rates and a built-in return option for chicks.
- Order online if needed: works, but shipping can be expensive and can lower hatch rates.
Plan for chicks after the classroom
- Return chicks to the farmer who supplied the eggs.
- Send chicks to a parent/guardian who already has a safe coop setup.
- If neither is available, line up a local backyard flock owner before hatch day.
Confirm the destination by day 18 (lockdown) so you can transfer chicks as soon as observation is complete.
Quick Start: 21-Day Classroom Chick Hatching Guide
Here’s a simple overview of how a typical chick checkout project works from setup to hatch day. Always follow the directions that come with your specific incubator, too.
Before You Plug In
- Choose a level table with about 3 ft x 1.5 ft of space and two regular outlets nearby.
- Keep the incubator away from direct sunlight, vents, and doors to avoid drafts and temperature swings.
- Room temperature should stay roughly between 65°F–75°F.
Days 1–18: Incubation
- Set the incubator temperature to 99.5°F (or as recommended by the manufacturer).
- Fill the water channels to keep humidity around 50–55%.
- Place fertile eggs pointy end down, spaced evenly.
- Turn eggs at least 3 times per day, or confirm the automatic turner is working.
- Check temperature and humidity once or twice per day and record readings with your students.
- Optional: candle the eggs on days 7, 14, and 18 to look for blood vessels and movement.
Days 18–21: Lockdown & Hatching
- On day 18, stop turning eggs and remove any turner trays as directed.
- Increase humidity to around 65–70% to protect membranes as chicks pip.
- Try not to open the incubator once you see pips—each time you open the lid, humidity drops.
- Most chicks hatch around day 21, but early or late hatches are normal.
- Leave newly hatched chicks in the incubator until they are dry and fluffy (usually a few hours).
Moving to the Brooder
- Set the brooder heater to about 95°F and line the tote with clean pads.
- Place food and water on the “cool” side of the brooder, away from the warmest spot.
- Gently move dry chicks from the incubator, dipping each beak in the water so they know where it is.
Brooder Box Setup & Daily Care
The brooder is the chicks’ home for the first week or two in your classroom. A simple plastic tote works perfectly.
Brooder Checklist
- Draft-free area that is easy for you and students to see and reach.
- Puppy pads or liners on the bottom; replace at least once per day.
- Brooder heater or plate on one side to create a warm zone.
- Feeder and waterer on the opposite side, with marbles in the water tray for safety.
- Space for chicks to move between warmer and cooler areas so they can self-regulate.
How Do I Know If Chicks Are Comfortable?
- Too cold: Chicks pile tightly under the heater and may cheep loudly.
- Too hot: Chicks avoid the heater, pant, or spread wings.
- Just right: Chicks nap, eat, and explore in a loose ring around the heat source.
 Setting up the brooder
 Warm zone check
Chicken Embryo Development Timeline for Students
Use this kid-friendly timeline to help students visualize what’s happening inside each egg during your chick checkout project.
- Day 1–2: Tiny tissues and the heart begin to form.
- Day 3–4: Blood vessels spread; wing and leg buds appear.
- Day 5–7: Elbows, knees, and the egg tooth develop.
- Day 8–10: Feathers, claws, and beak continue to grow.
- Day 11–14: Tail feathers appear; the chick turns toward the wide end of the egg.
- Day 15–18: Feathers cover the body; the chick fills almost all of the space.
- Day 19–20: Yolk is pulled into the chick’s abdomen; the chick pips into the air cell.
- Day 21: Hatch day! The chick breaks through the shell and fluffs up.
Classroom Management Tips for a Smooth Hatch
- Schedule your hatch to avoid long school breaks—count 21 days from the day you start the incubator.
- Assign daily “chick caretaker” jobs so students help with observations and basic cleanup.
- Keep a simple log of temperature, humidity, and notes that students can help fill out.
- Decide ahead of time where chicks will go after the classroom project ends (farm, local families, FFA, etc.).
- Set expectations: chicks are living animals, not toys—quiet voices and gentle hands only.
Printable Chick Checkout Resources
Coming soon – downloadable, classroom-ready printables to make your chick checkout even easier.
- 21-Day Hatch Calendar & incubator log
- Student Chick Observation Journal pages
- Embryo development mini-posters
- Parent letter template about the chick project
About Chick Checkout
Chick Checkout was created to make chick hatching in the classroom accessible for any teacher, anywhere. The project is inspired by county-level agricultural programs in Alabama and beyond that connect students to farms, farmers, and the food system.
This website is an independent resource hub designed to:
- Show you exactly what supplies you need (and nothing you don’t),
- Provide a clear 21-day plan, and
- Offer kid-friendly explanations of the chicken life cycle.
Whether you’re in a rural school or a city classroom, Chick Checkout helps your students experience the wonder of new life and learn where their food comes from.